Search Knowledge Base by Keyword
Dolphin Master Dial Settings
Master Dial Settings
This article breaks down the Master Dial Settings page. This page contains the default dial settings that can get copied into any new campaign. In order to start making calls, you need to set up a Caller ID on the master dial settings page.How to find the Master Dial Settings
Start at the top menu bar and select admin. Click on master dial settings.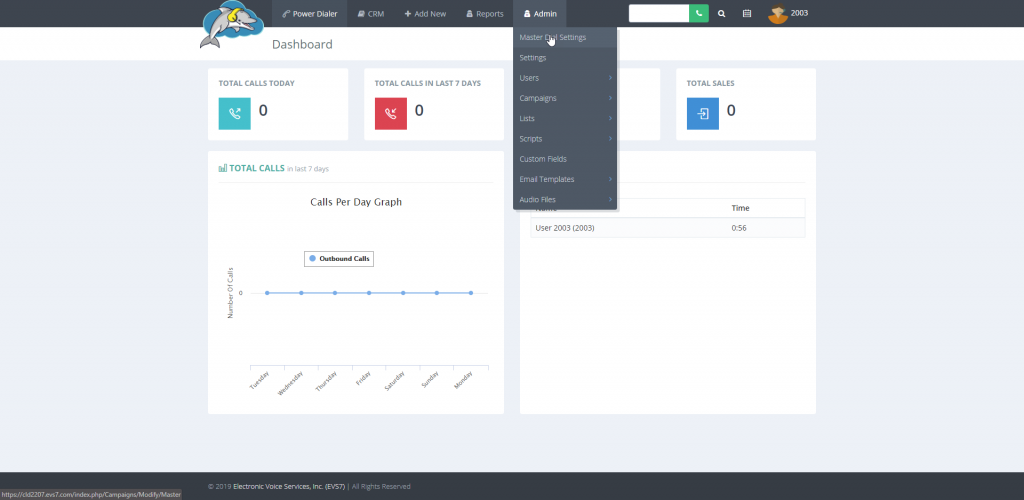
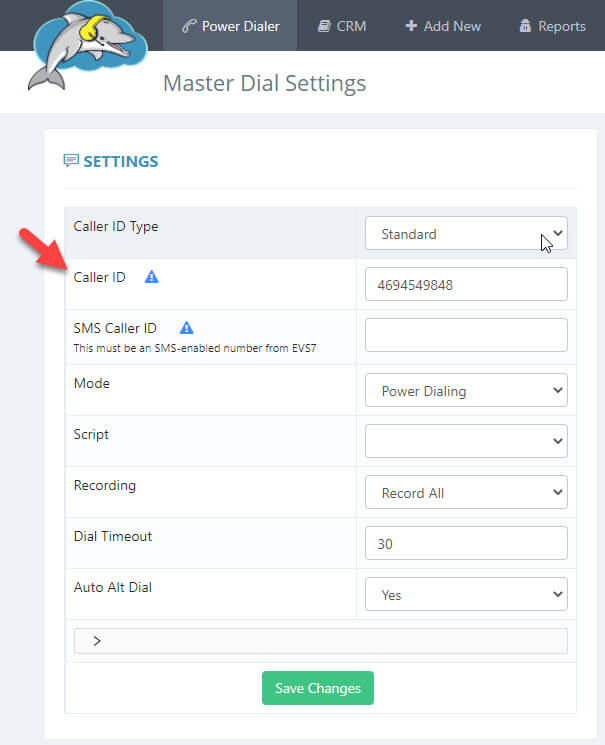
Caller ID Type
Standard
The caller ID type should be set to standard. This is the default setting if you are using only one number for the Caller ID.
Dynamic
This setting cycle's through a list of phone numbers to help prevent your caller ID from getting flagged as spam. You should consider using a dynamic caller ID if you plan to make a lot of calls. You can buy extra numbers by speaking with support or you can use your own valid numbers from another phone number provider. Add the list of phone numbers to the caller ID list after selecting dynamic in the caller ID type.
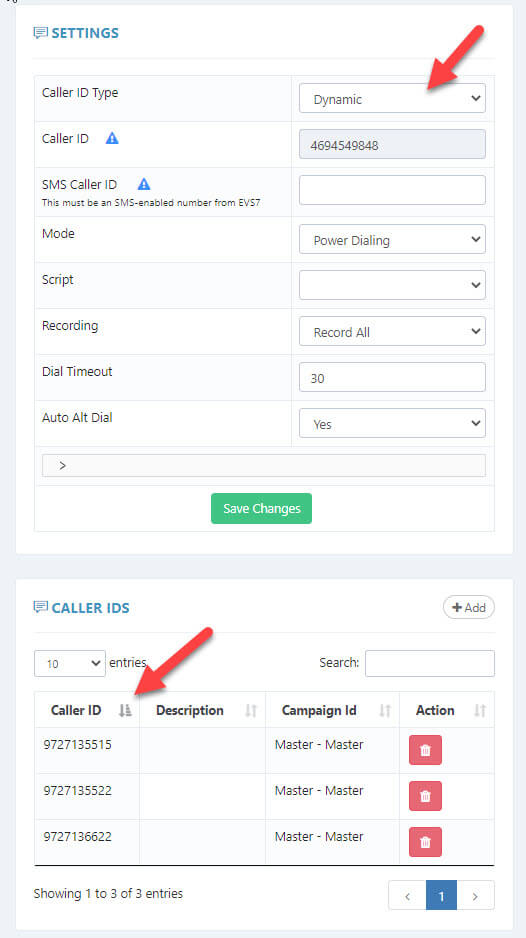
Caller ID
Add a 10 digit number to the caller ID. Make sure you are using a valid phone number if using your own caller ID.Contact Dolphin Support for more info on how to get a new number if you do not have one.
SMS Caller ID
You can use the SMS Caller ID to send out (SMS) text messages. Contact EVS7 support for an SMS-enabled number. You cannot use your own SMS number.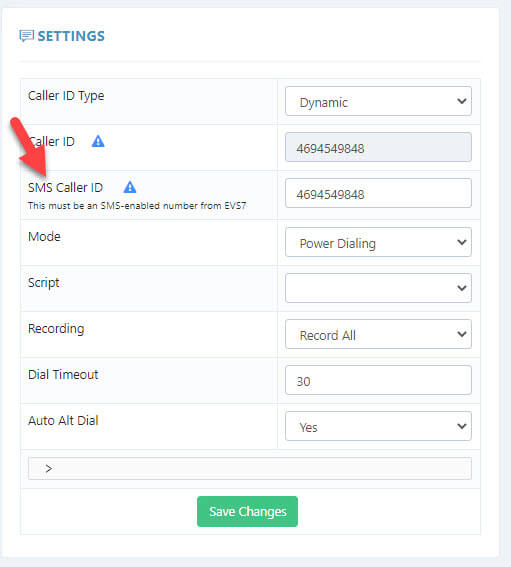
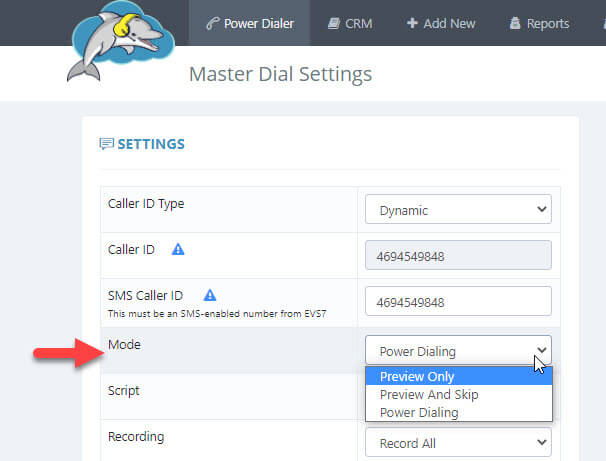
Mode
The mode is a setting that decides how calls will take place in the power dialer campaign. You can choose from three different modes. The dialing mode's defined:- Preview Only - Allows the caller to preview the contact data before starting the call.
- Preview and Skip - Allows the agent to preview the contact data before starting a new call. There's also the option to skip a lead.
- Power Dialing - Power dialing allows the agent to call the next contact in a list and as soon as the current call is completed. The system starts dialing a new number after selecting a disposition in the current live call. Callers have the option to pause or stop the system from dialing the next number.
Script
Add a script by selecting your file from the drop down menu. You can make a new script by visiting the script section under the admin settings.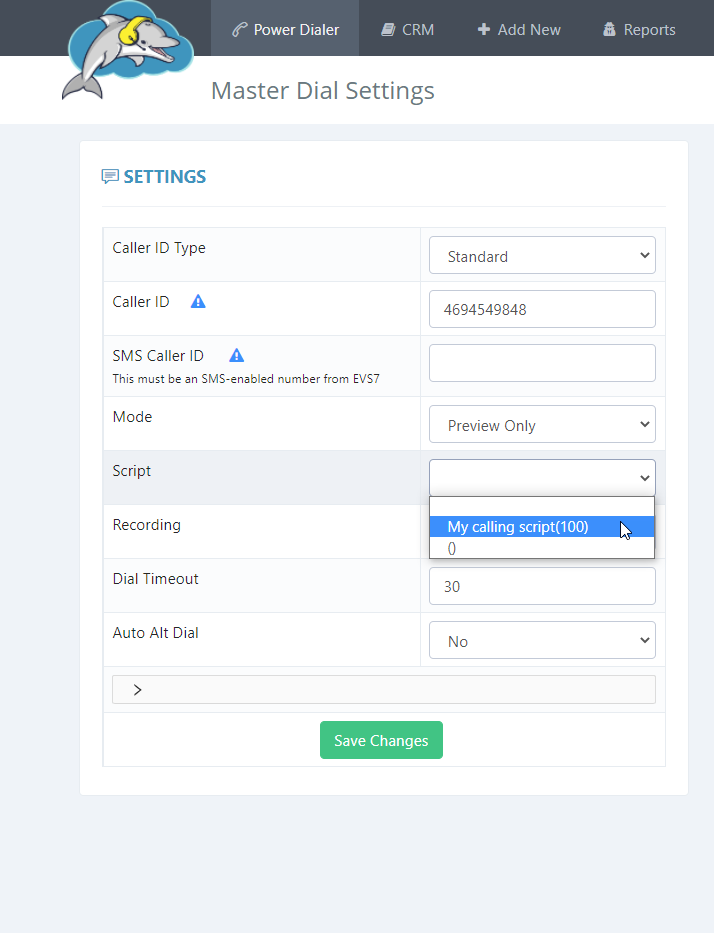
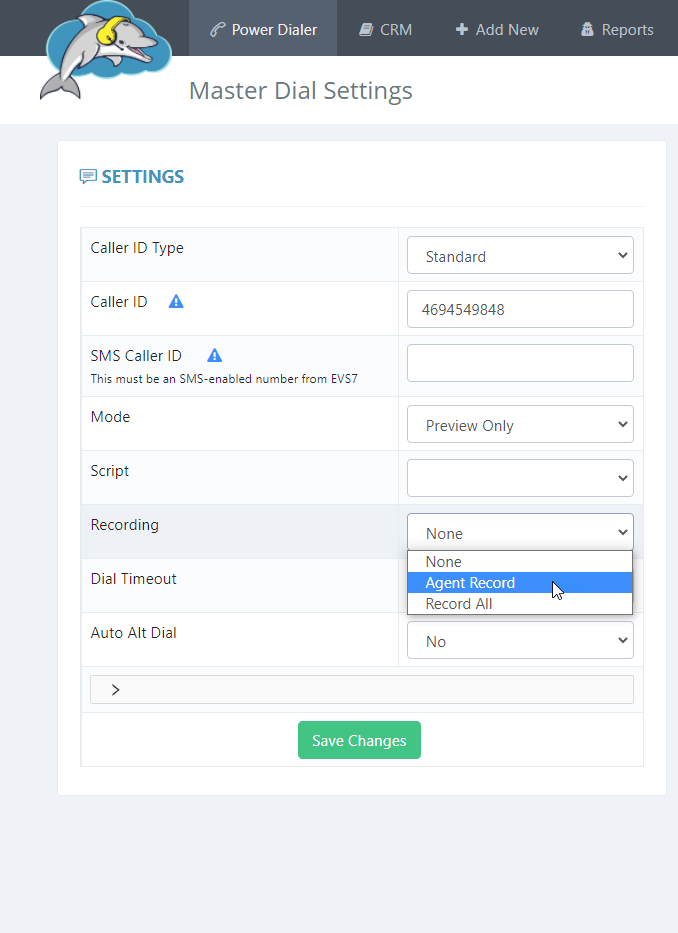
Call Recording
If you are paying for call recording, then you can choose how calls get recorded. We recommended leaving this setting to record all. The recording options defined:- None - All calls are not recorded.
- Agent Record - The agent chooses when to record a call.
- Record All - All calls are recorded.
Dial Timeout
The dial timeout decides how soon a call hangs up after it starts ringing. This is set up in seconds and the default time is 30s. After the 30s of ringing, the system hangs up the call. You can increase this if needed.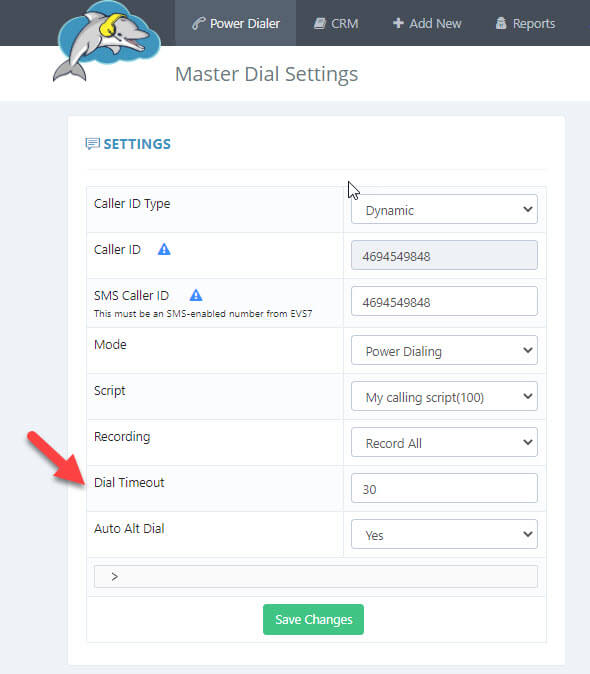
Auto Alt Dial
This setting lets agents call a lead with more than one number on file. If no one picks up the first number called, then the Dolphin Cloud will find the next number of that lead. You can call up to three extra numbers for the same lead. You will also need to create a trigger so the system knows when to call the next number. This is covered and set up in the alt dial dispos section.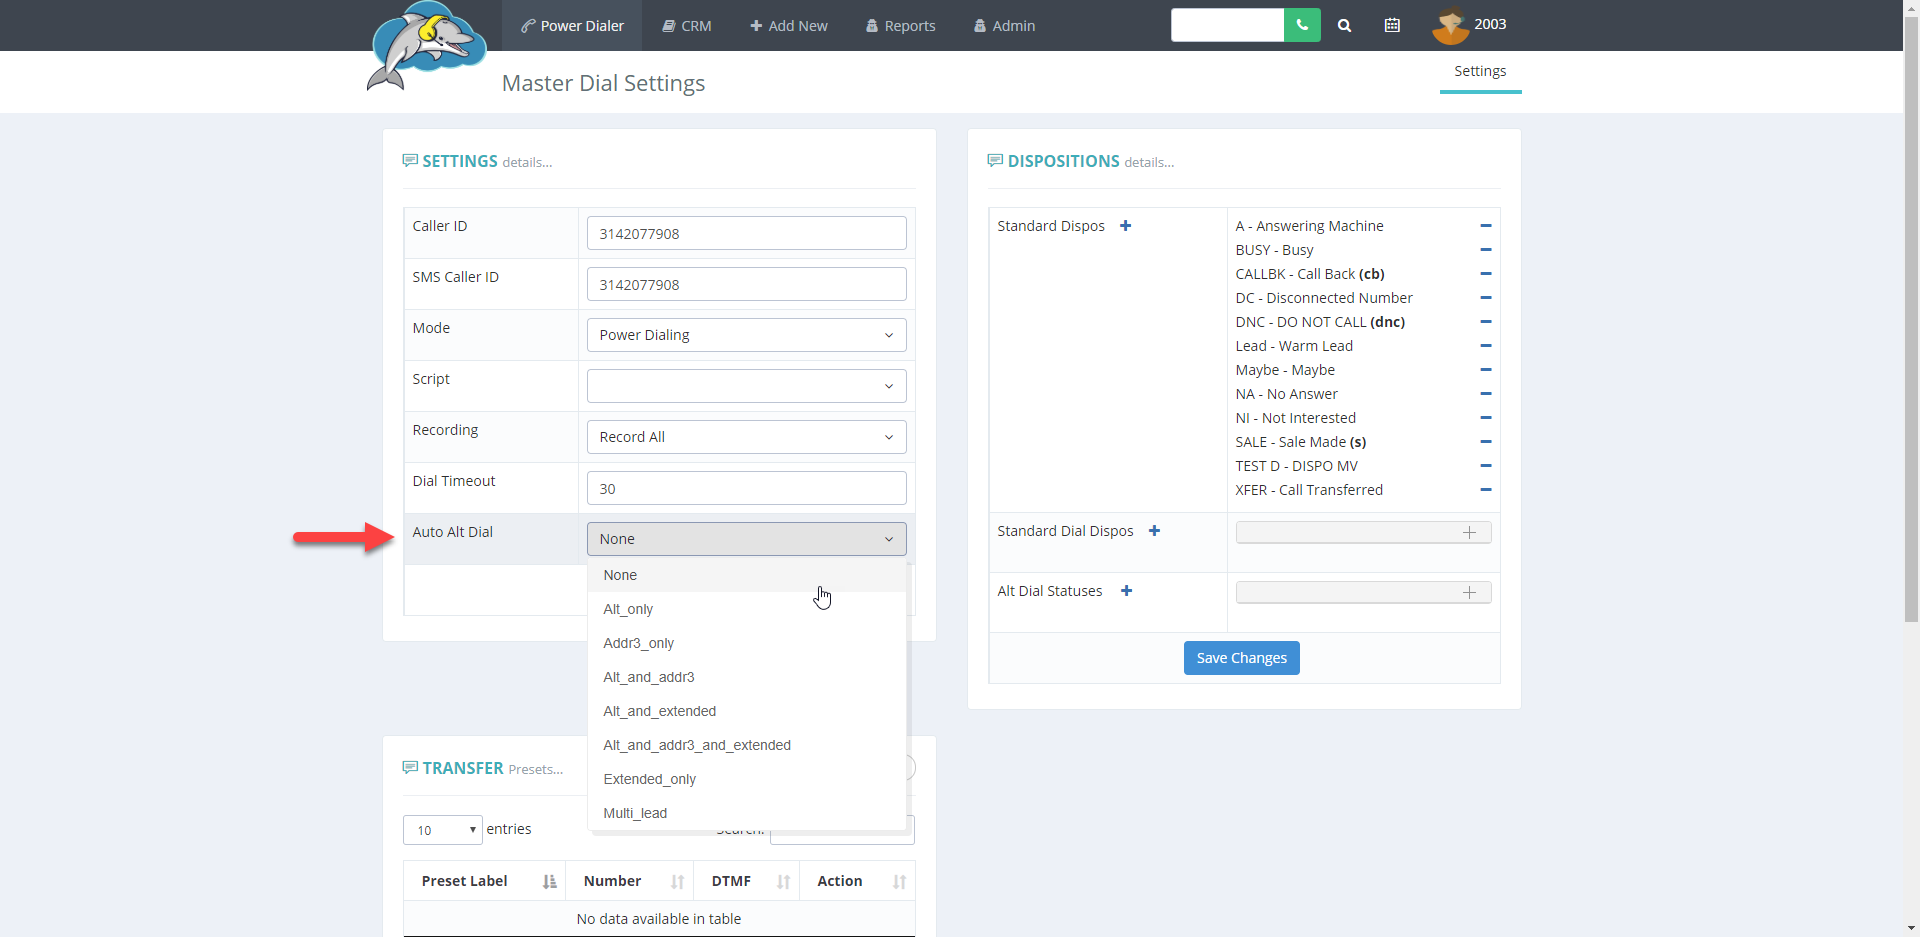
Override Agent CID
This setting lets your agent use their own caller ID that shows instead of the main caller ID when making a call. The agent's caller ID is set up on the agent's profile page in the user settings.
Transfer Preset
Set up a transfer preset so that agents can quickly transfer a call, instead of having to manually type in the number. You can add as many preset's as you need. If there's an extension, you can add that in the DTMF.Dispositions
Dispositions are the different statuses or labels that describe the result of a call. You can use these to better organize your call flow. Every call gets a label. For example, each new lead you import to the dialer gets the status Not Called. The dispo settings defined:- Standard Dispos - The standard dispo's are what show on the agent screen when a call is finished. Agents will choose one of the dispo's to describe the call's outcome before moving on to the next lead. You can add your own custom dispo to this list. You can also remove the ones you don't need to use.
- List Reset Dispos - These dispo's are for organizing the list reset settings on a list. When you reset a list, the status of certain leads are changed to Not Called so that they can be called again. For example, you can call back any leads that have the status answering machines (A) or no answers (NA). This is helpful when you want to call back a set of leads in a list. You can add or remove any dispo to customize which leads get a call back.
- Alt Dial Dispos - This setting is used with auto alt dial turned on. These are the dispo triggers that let the system know when to call the next number on file. Here's an example: If a call hits an answering machine and your agent dispo's the call as (A) answering machine, then the system will look for and call the next number on file for that lead. Set this up by adding the status A (answering machine) to this list.