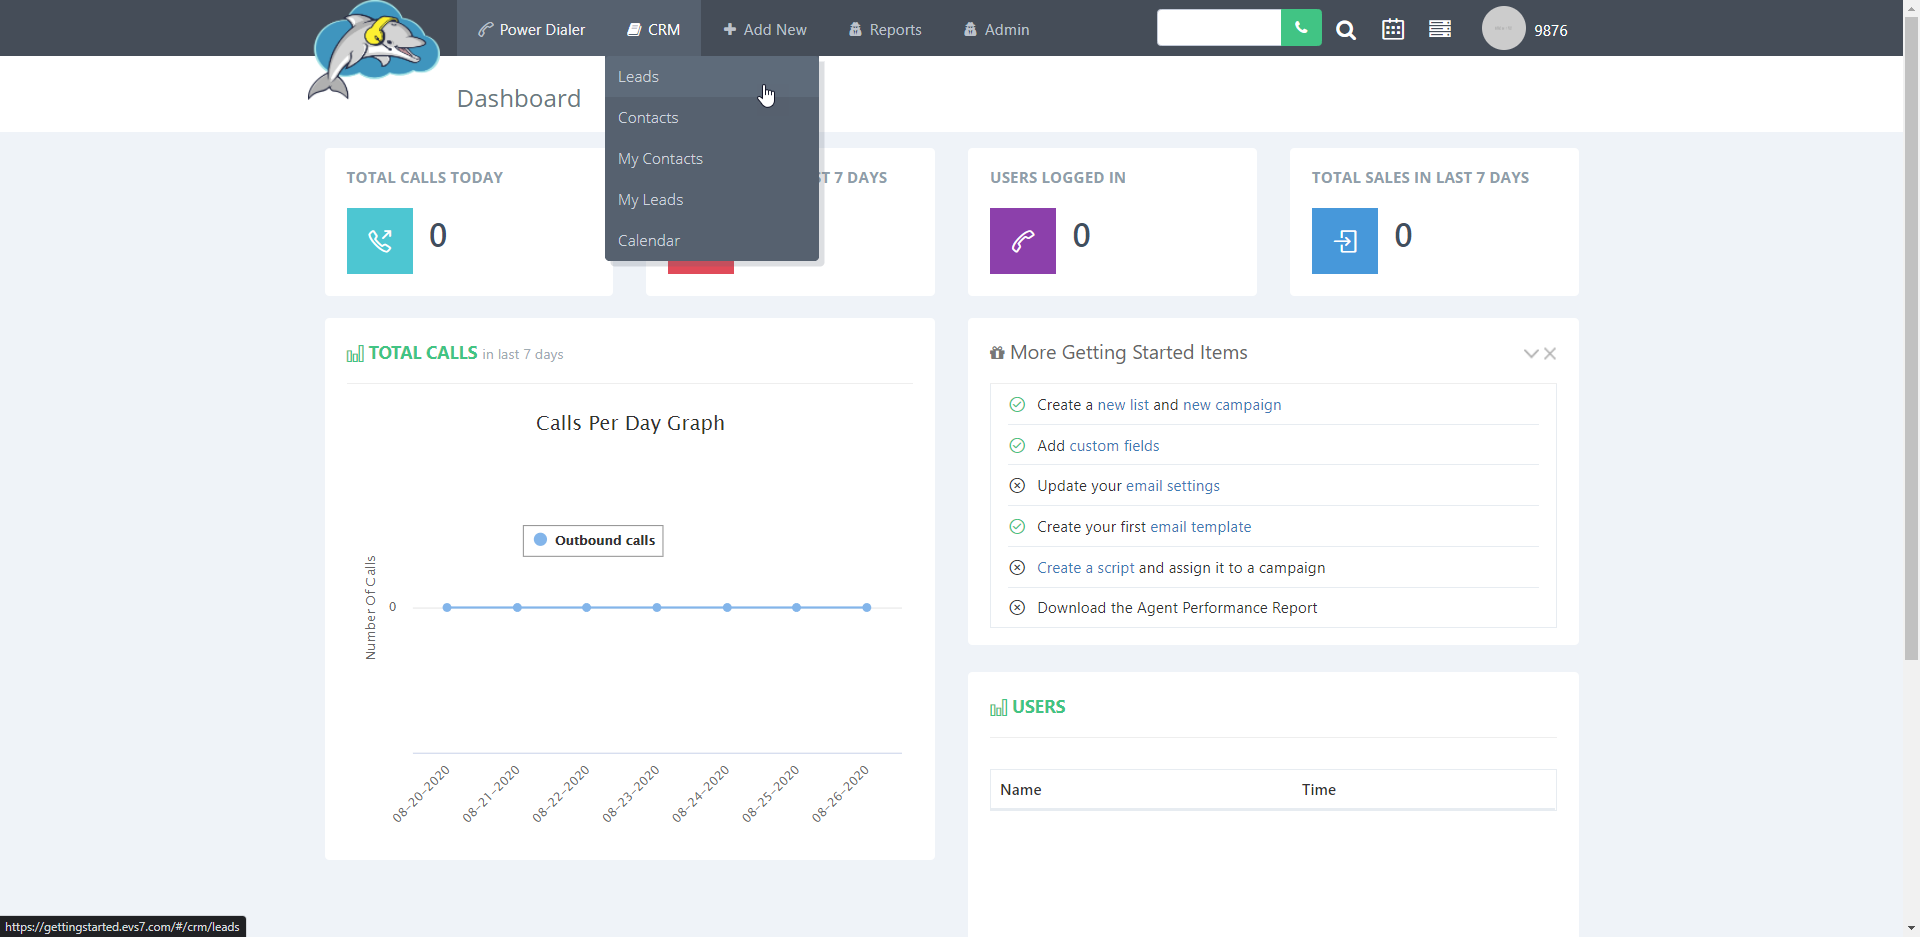
Learn how to move leads and rearrange them to different lists in your CRM by following the steps below. There are two ways to do move leads. This article will guide you through the steps.
Step 1.
Go to CRM and then click on leads.
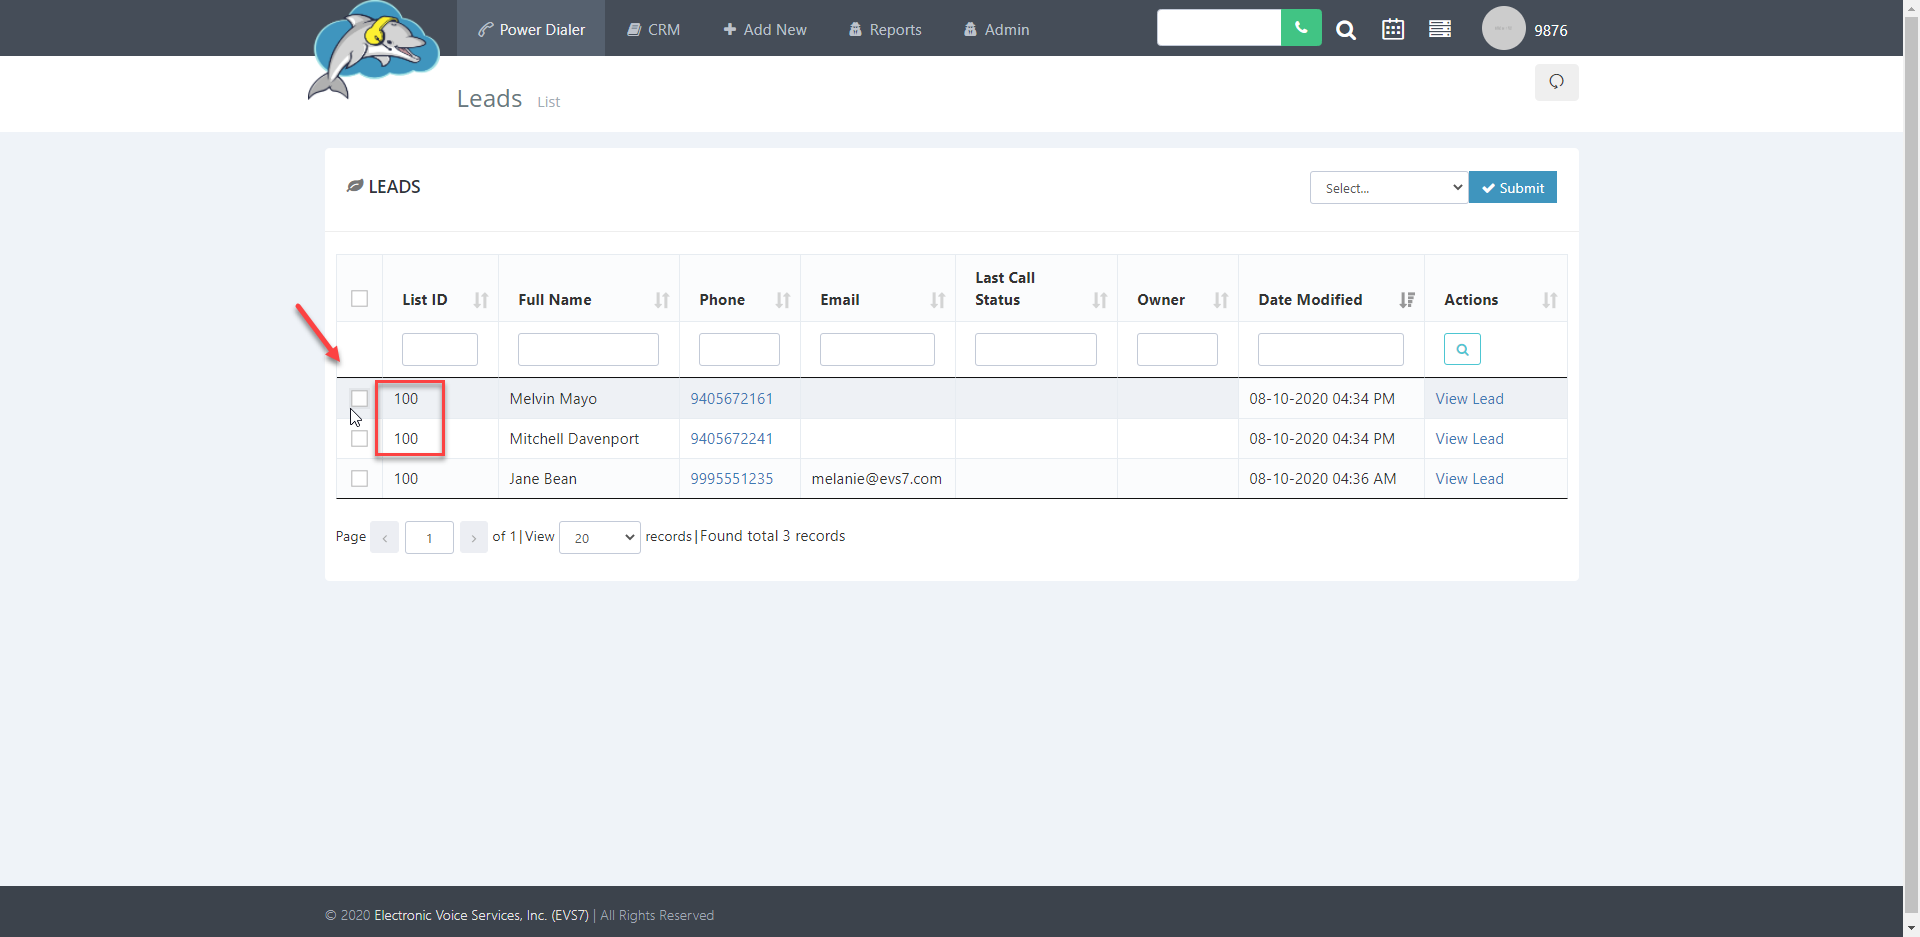
Step 2.
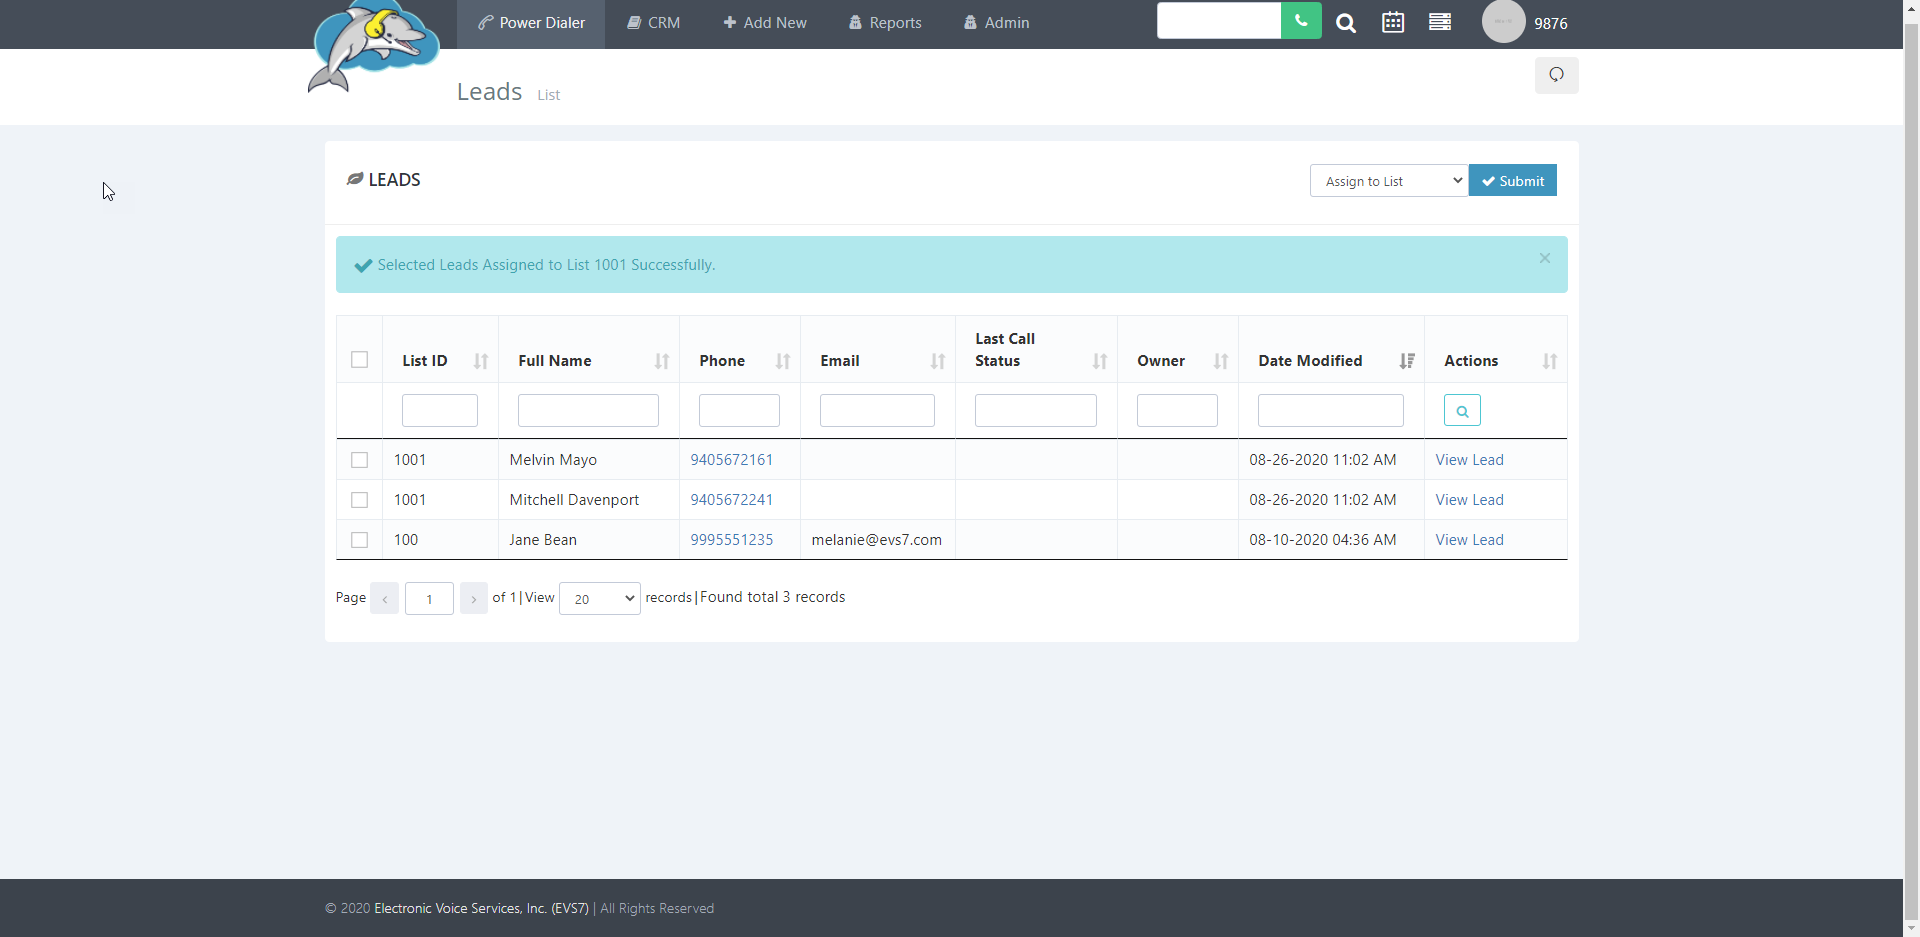
Click on the checkbox(s) next to the lead you want to move to another list. The list ID will indicate which list your leads are in.
Step 3.
Select the option to assign to a list and then click on submit.
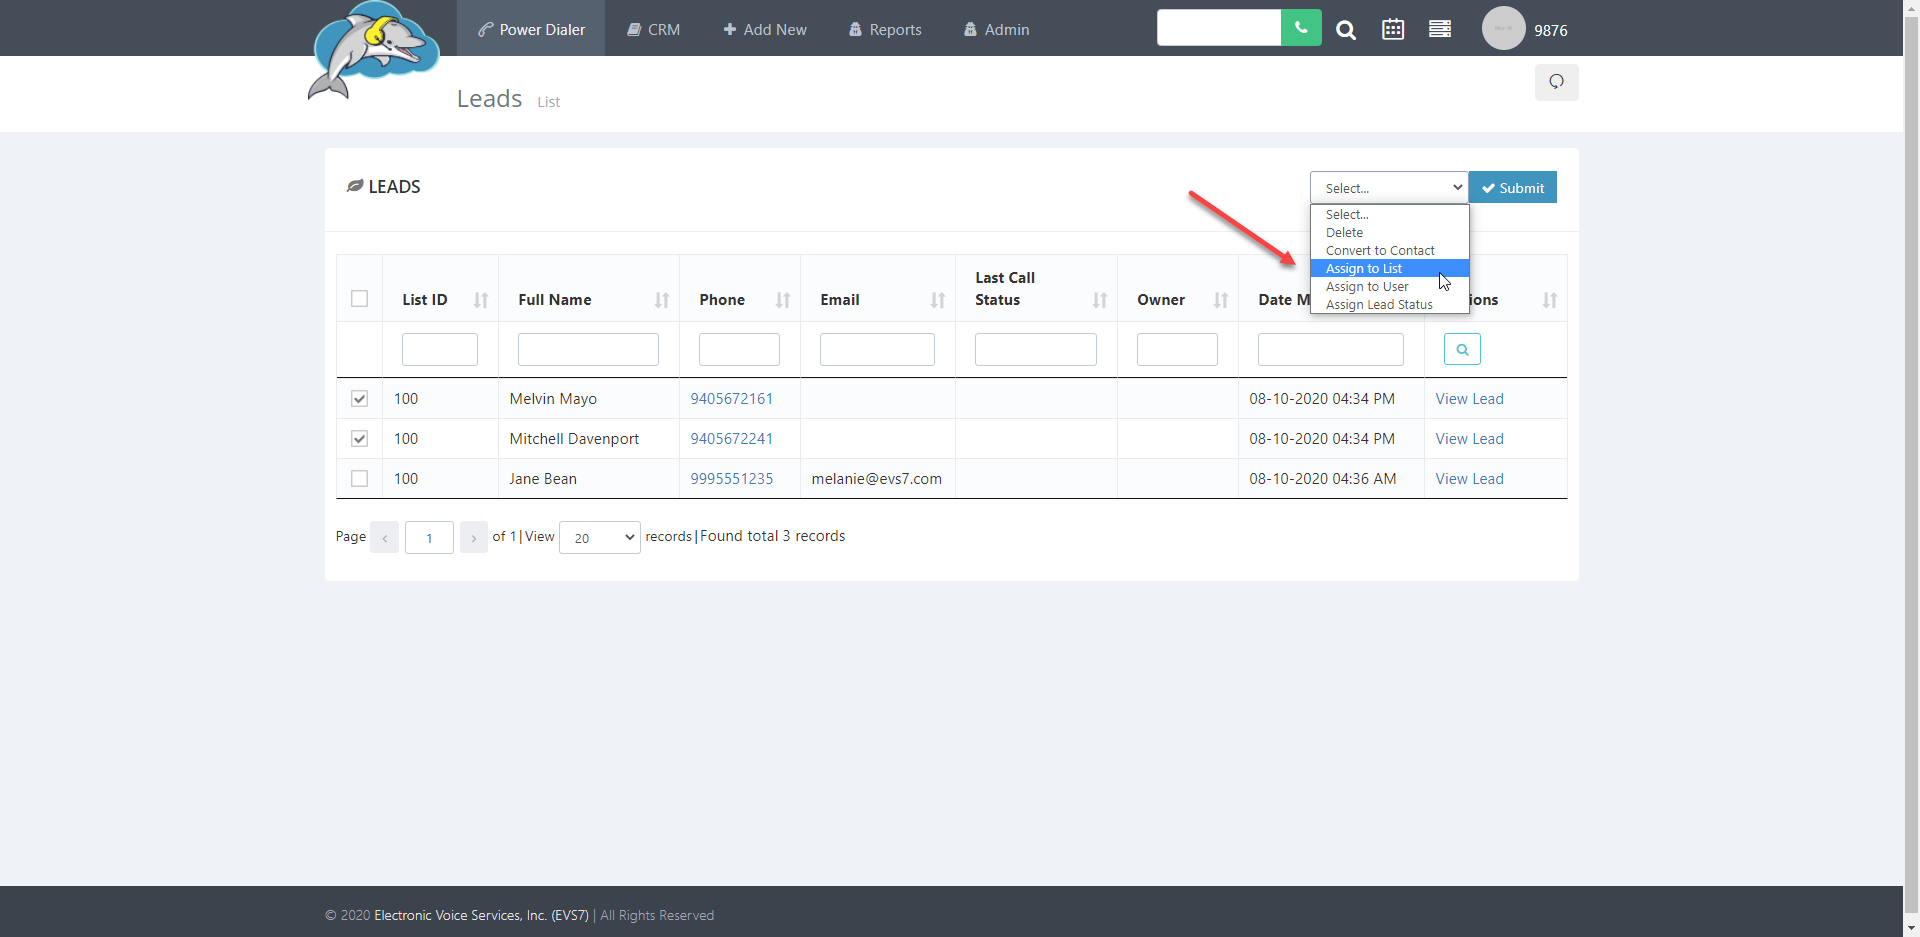
Step 4.
You should see a pop-up box that's called "Choose List". Choose the list you want to move the leads to and then click submit.
Step 5.
The newly assigned leads are now moved to a different list.
Step 6.
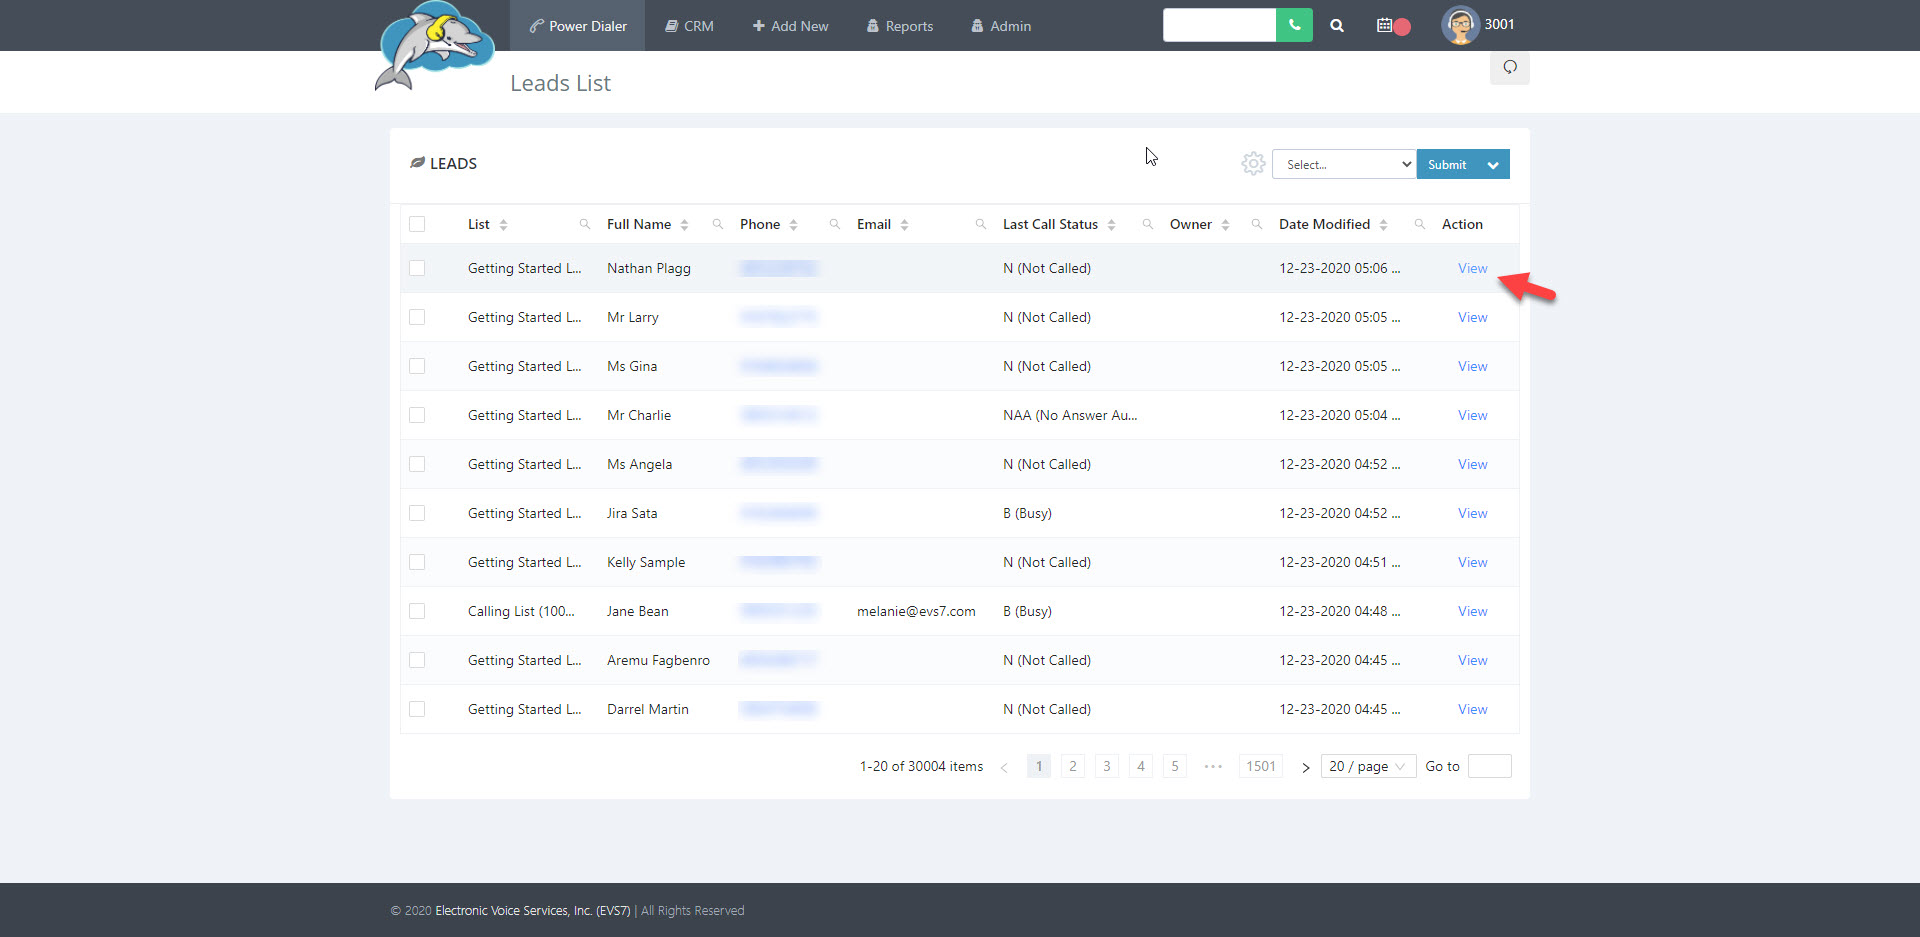
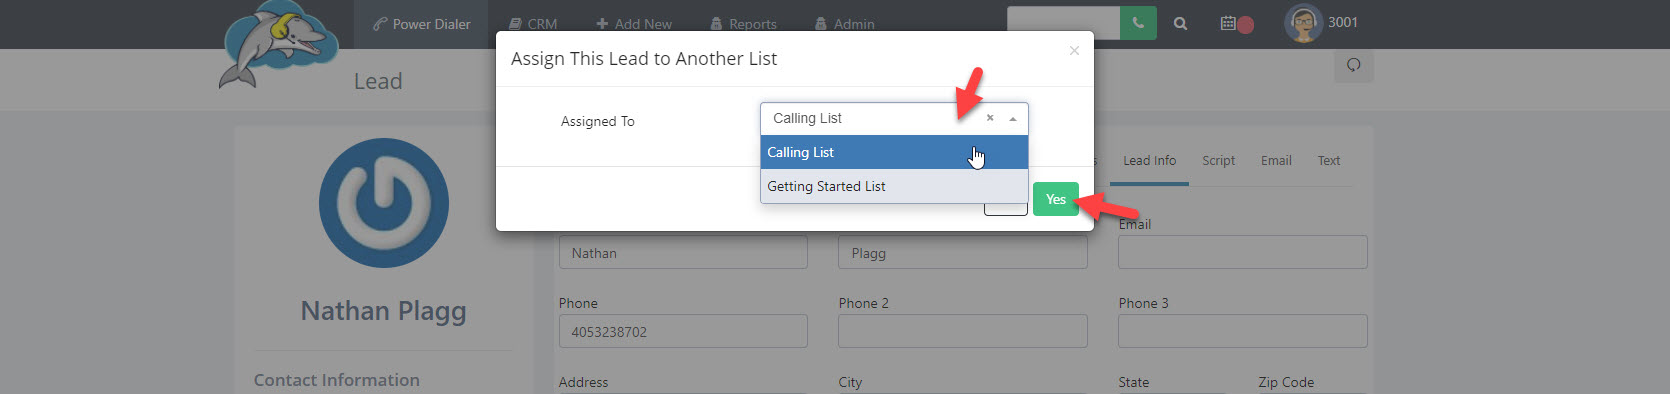
The next steps for moving a lead are on the contact information page. Click on view to see the contact information page. If you are not on the same page, you can get there by clicking on CRM and then click leads and then finally click on view.
Step 7
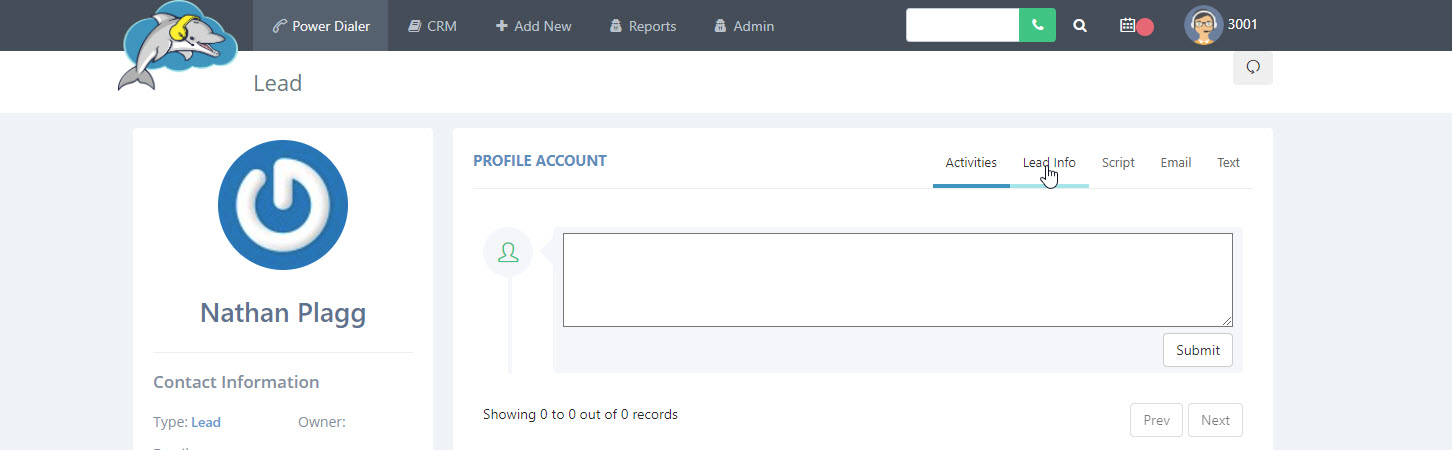
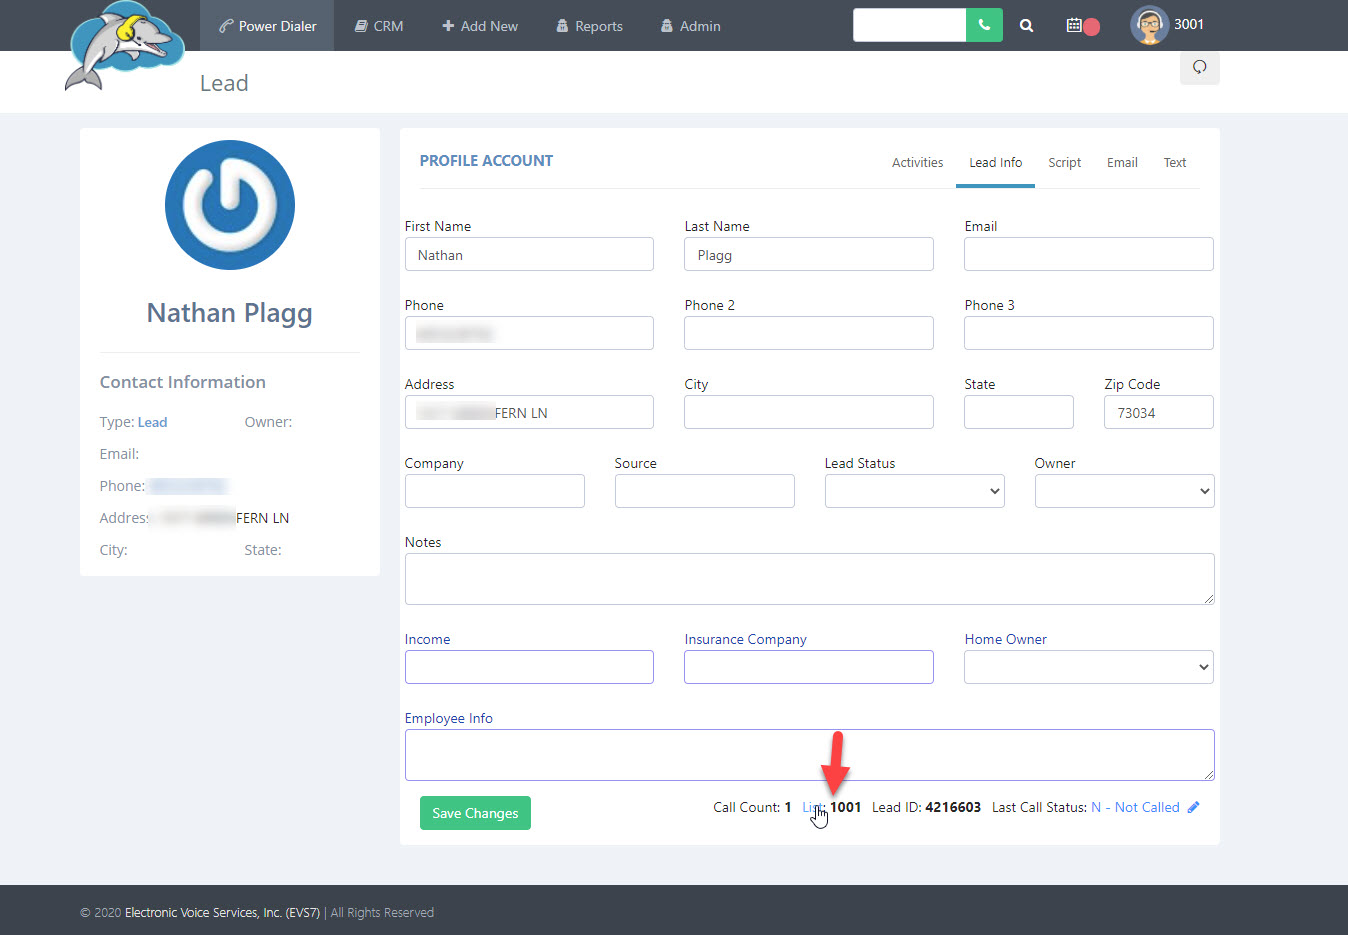
Click on Lead Info to view the next page. Then click on List at the bottom in blue text, to view the next setting.
Step 8
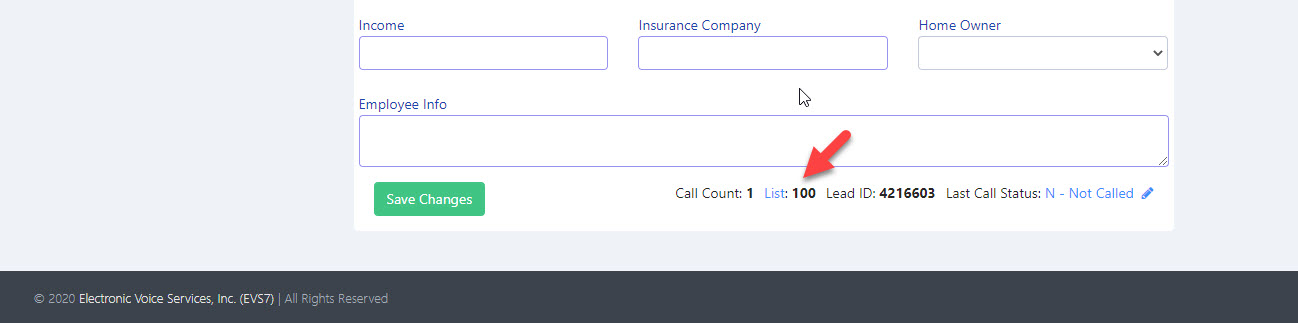
In the assigned to box, select the list to move your lead to and then click on yes to make the changes. Once you click yes, you will see the list details update.