The following feature is only available in Parrot 2.50 version.
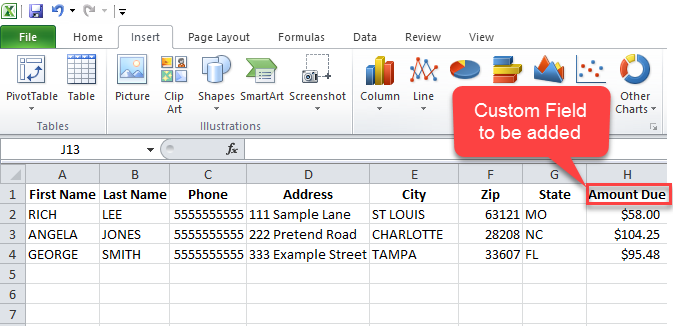
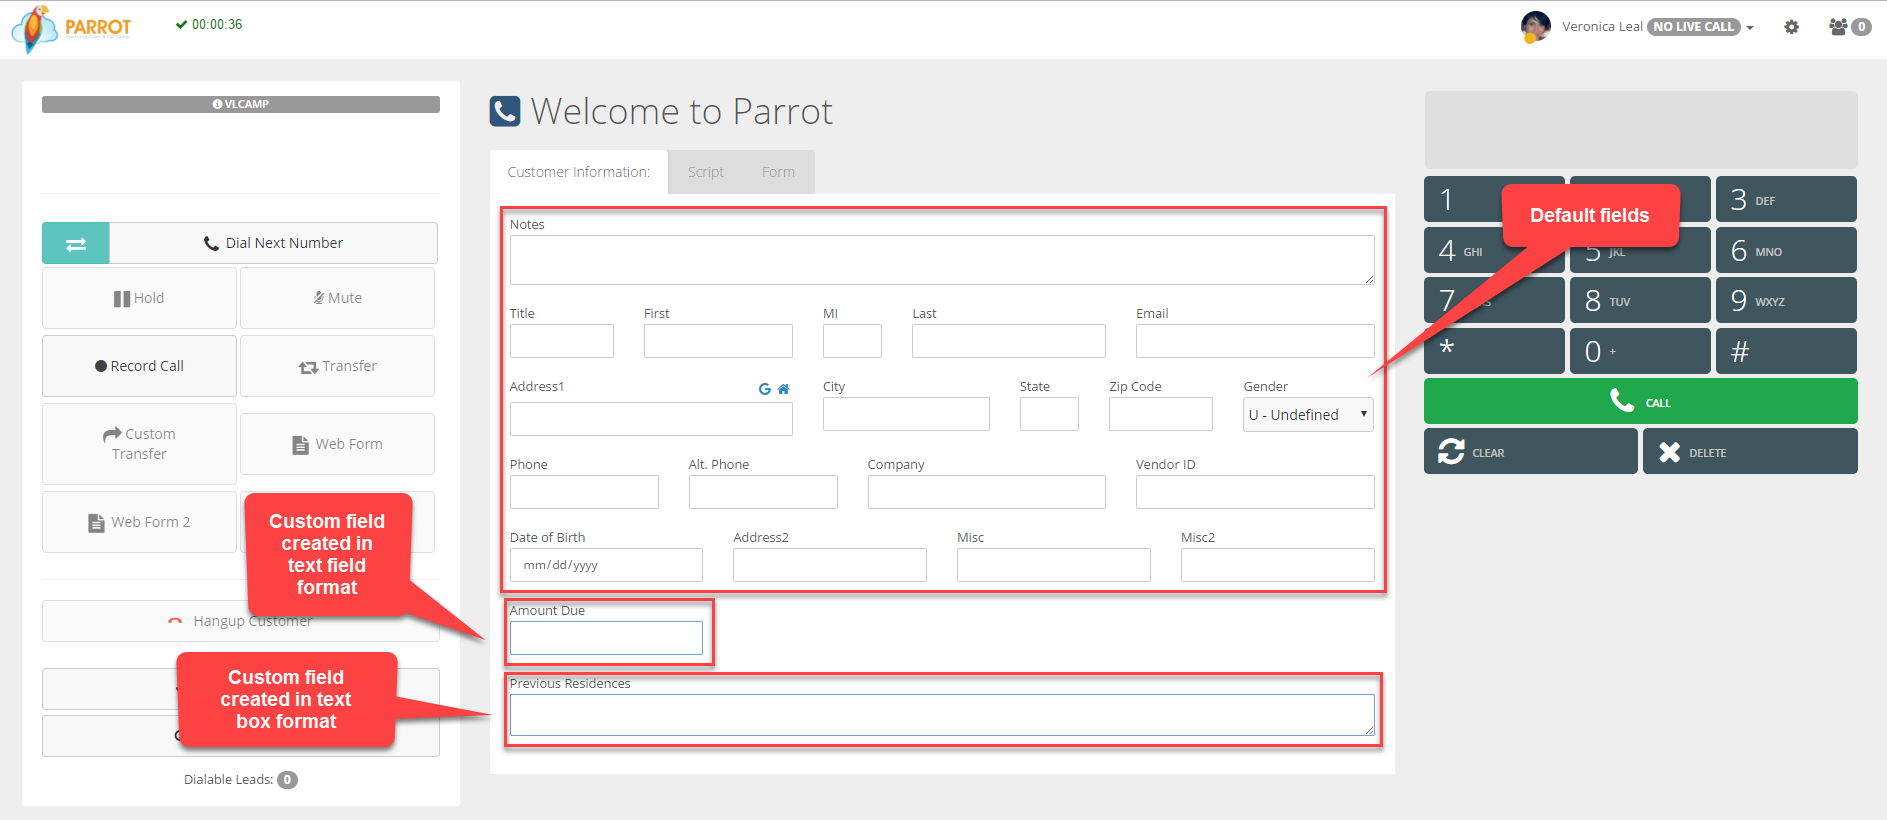
Custom fields can be added to the Customer Information tab in the Agent Interface if you need additional fields other than the default fields available. This feature is useful if your lead file has additional headers than the default fields shown or if you want your agent entering additional lead information. Custom fields created will be added to the entire system rather than only to a specific campaign or list.
A variable is generated for each field created if needed for API purposes. Custom fields, along with default fields, can also be sent via email notification.
Note: Text field and text box are the only field types currently available for this feature. See the Custom Form tutorial if you need other field types, need to create list specific fields, or need to reorder your fields.
Step 1. Login to your manager portal using your Admin credentials.
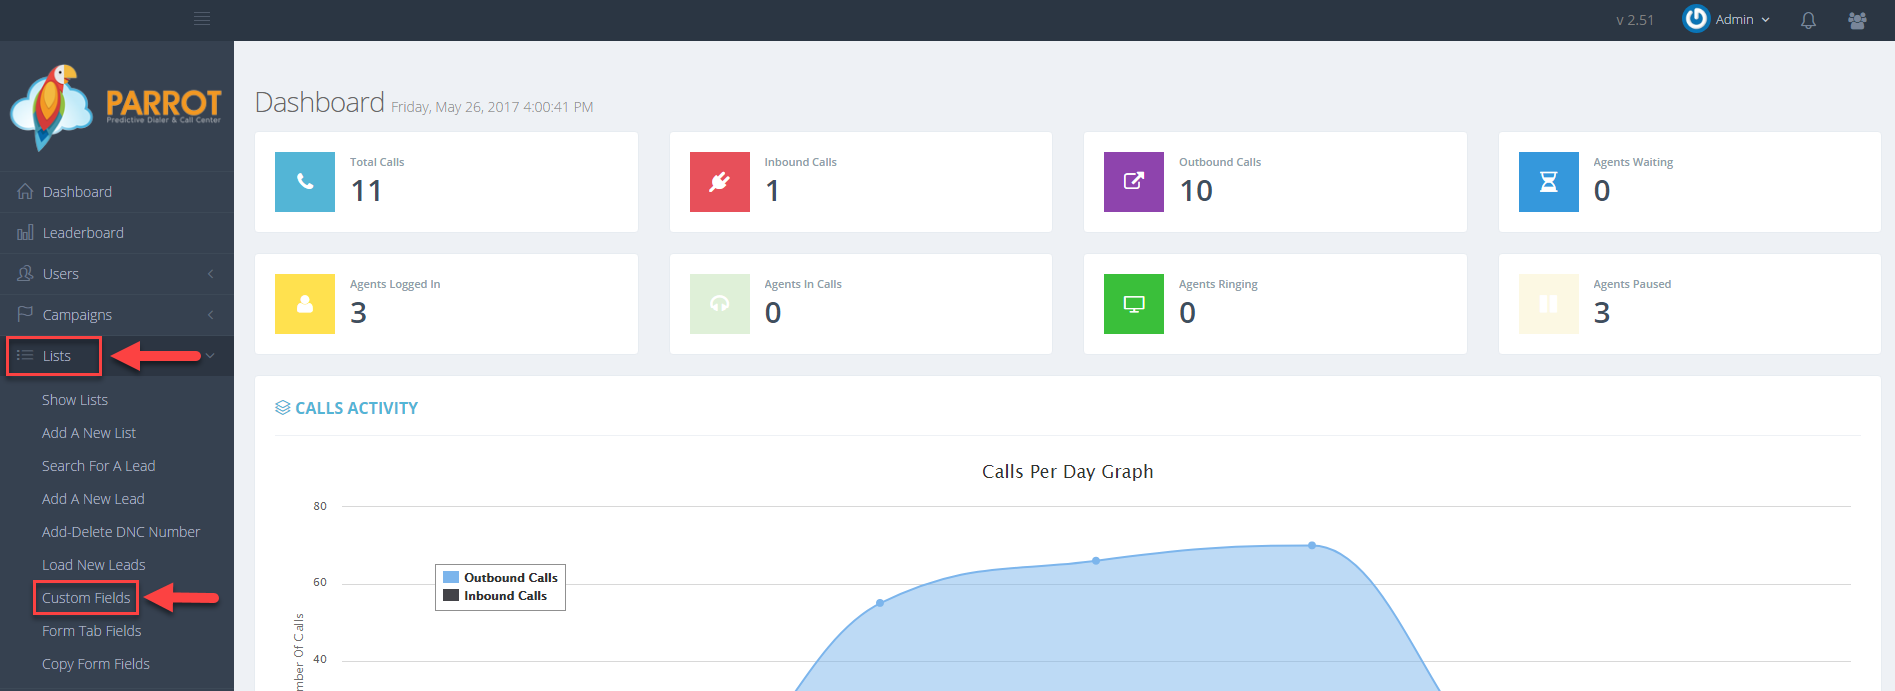
Step 2. Click on Lists and then Custom Fields in the left menu.
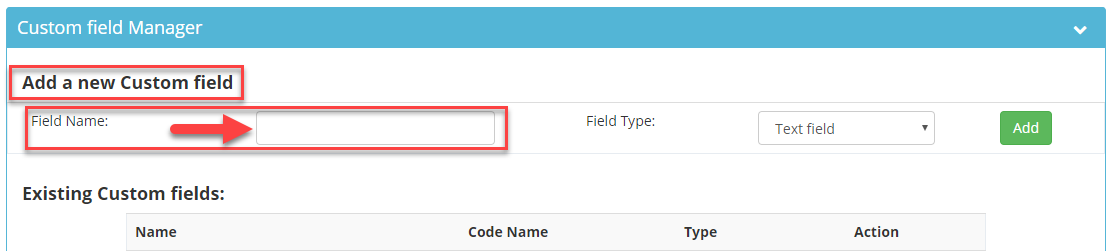
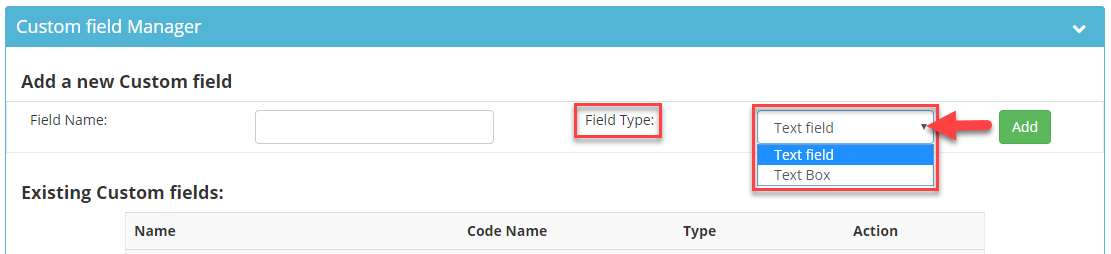
Step 3. Go to the Add a New Custom Field section. Enter a Field Name between 1-20 characters.
Step 4. Select Text Field or Text Box from the drop down menu for the Field Type option.
Text Field – Allows the user to enter up to 100 characters or modify uploaded information.
Test Box – Allows the user to enter up to 500 characters or modify uploaded information.
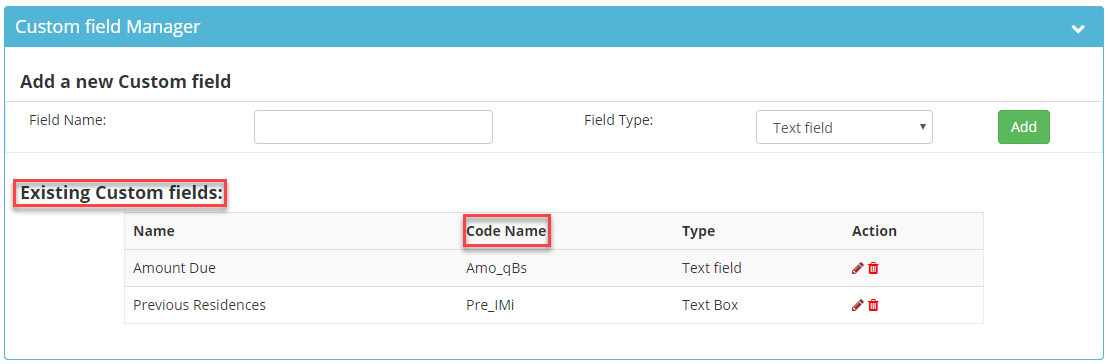
Step 5. Click ADD. The custom fields created will appear under the Existing Custom Fields section along with a Code Name or variable which can be used for API purposes.
Step 6. The custom field created will also appear in the mapping page when loading leads. To upload information into the custom field, map the custom field in the left column to the file data column on the right. If no data will be uploaded into the custom field, leave as (none).
 Note: Text field and text box are the only field types currently available for this feature. See the Custom Form tutorial if you need other field types, need to create list specific fields, or need to reorder your fields.
Step 1. Login to your manager portal using your Admin credentials.
Step 2. Click on Lists and then Custom Fields in the left menu.
Note: Text field and text box are the only field types currently available for this feature. See the Custom Form tutorial if you need other field types, need to create list specific fields, or need to reorder your fields.
Step 1. Login to your manager portal using your Admin credentials.
Step 2. Click on Lists and then Custom Fields in the left menu.
 Step 3. Go to the Add a New Custom Field section. Enter a Field Name between 1-20 characters.
 Step 4. Select Text Field or Text Box from the drop down menu for the Field Type option.
 Text Field – Allows the user to enter up to 100 characters or modify uploaded information.
Test Box – Allows the user to enter up to 500 characters or modify uploaded information.
Step 5. Click ADD. The custom fields created will appear under the Existing Custom Fields section along with a Code Name or variable which can be used for API purposes.
Text Field – Allows the user to enter up to 100 characters or modify uploaded information.
Test Box – Allows the user to enter up to 500 characters or modify uploaded information.
Step 5. Click ADD. The custom fields created will appear under the Existing Custom Fields section along with a Code Name or variable which can be used for API purposes.
 Step 6. The custom field created will also appear in the mapping page when loading leads. To upload information into the custom field, map the custom field in the left column to the file data column on the right. If no data will be uploaded into the custom field, leave as (none).
