How to Setup a Voicemail Box
A voicemail box is created by default for each phone extension. If your agents are performing agent to agent internal transfers, the system is setup by default for calls to be directly sent to an agent’s voicemail box if not available. The following tutorial will show you how to configure voicemail options such as setting up a voicemail greeting. In addition, voicemail messages can be sent to an agent’s email or other email if setup.
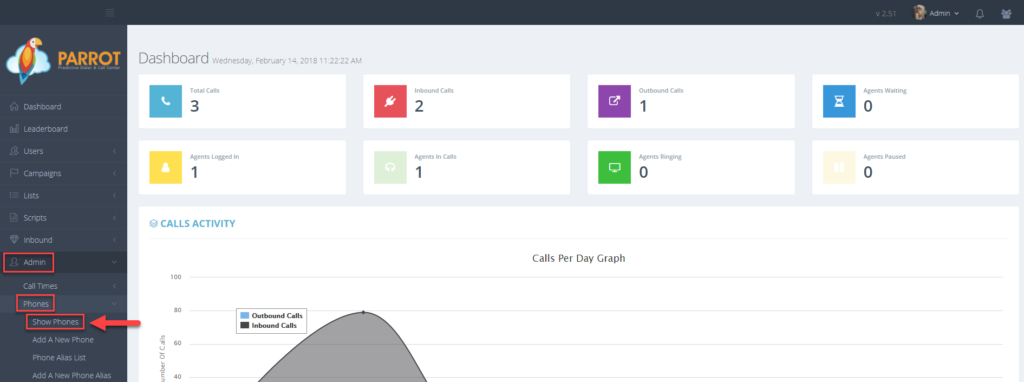
Step 1. Login to your manager portal using your Admin credentials.
Step 2. Click on
Admin, then
Phones, then
Show Phones in the left menu.
 Step 3.
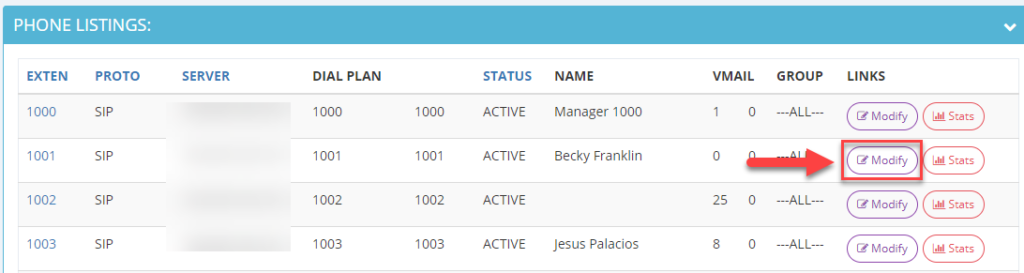
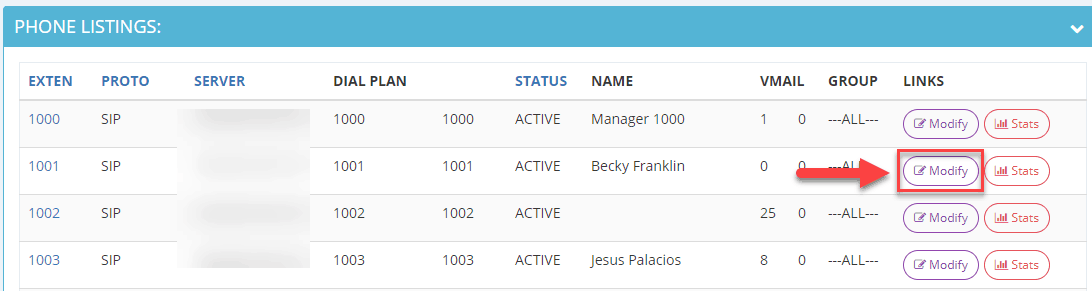
 Select the Extension that you would like to configure voicemail and click
Modify.
 Step 4.
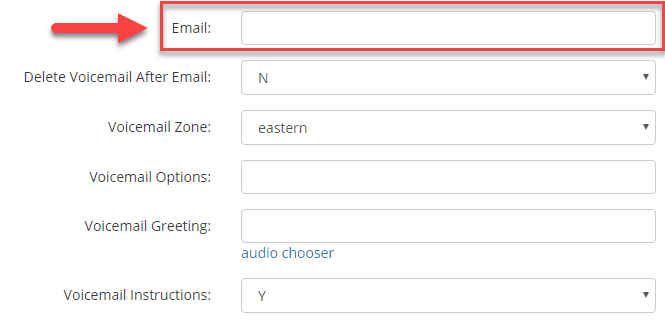
 Scroll down to the Voicemail Options and configure the following:
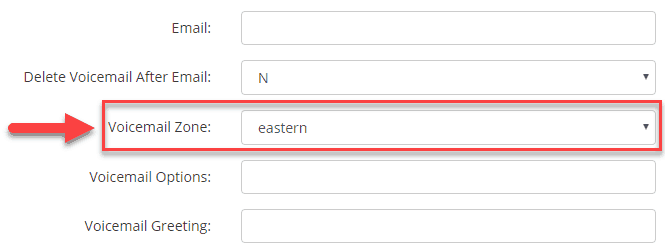
Email: Enter a valid email address where you would like voicemail messages for this voicemail box sent to.
If this is an agent’s extension, usually the agent’s email address is entered here. If you are configuring a manager’s voicemail box settings, a manager’s email or general company email can be entered here.
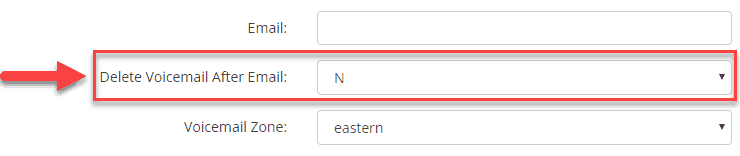
 Delete Voicemail After Email:
 Set to Y to delete voicemails from the system once they have been emailed. Make sure the agents are able to receive voicemails to their email before settings to Y.
 Voicemail Zone:
 Select the agent’s timezone so that the time of the message received will appear as the agent’s time in the email the voicemail is sent to.
 Voicemail Greeting:
 Click on the audio chooser link to select the previously uploaded voicemail greeting. Leave blank if you would like a generic voicemail greeting to play. To learn how to upload a personal voicemail greeting, click here:
How to Upload Audio Files
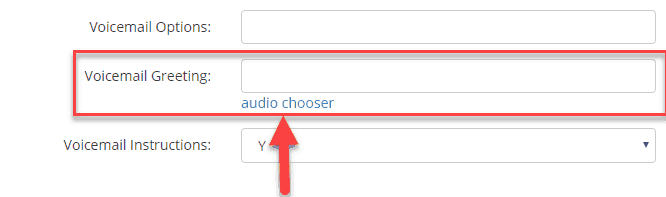 Voicemail Instructions:
 Setting determines whether instructions will play after the voicemail greeting is heard prompting the caller on what to do next.
 Step 5.
 Scroll to the bottom and click
SUBMIT.
 Step 3. Select the Extension that you would like to configure voicemail and click Modify.
 Step 4. Scroll down to the Voicemail Options and configure the following:
Email: Enter a valid email address where you would like voicemail messages for this voicemail box sent to.
If this is an agent’s extension, usually the agent’s email address is entered here. If you are configuring a manager’s voicemail box settings, a manager’s email or general company email can be entered here.
Step 4. Scroll down to the Voicemail Options and configure the following:
Email: Enter a valid email address where you would like voicemail messages for this voicemail box sent to.
If this is an agent’s extension, usually the agent’s email address is entered here. If you are configuring a manager’s voicemail box settings, a manager’s email or general company email can be entered here.